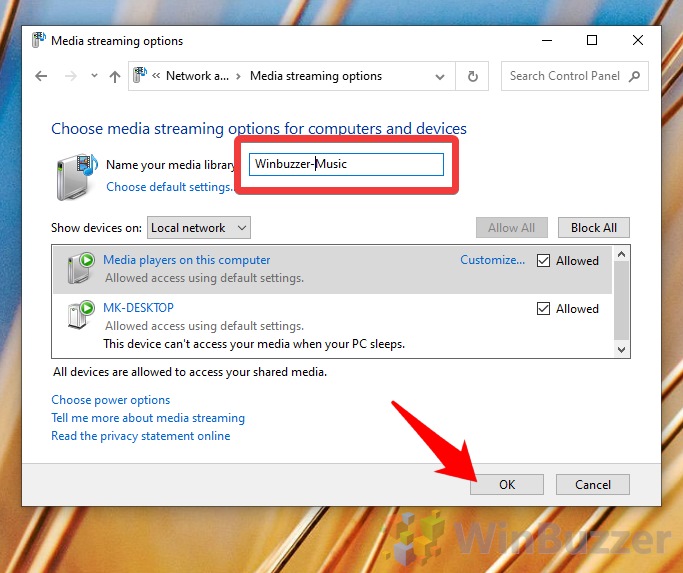
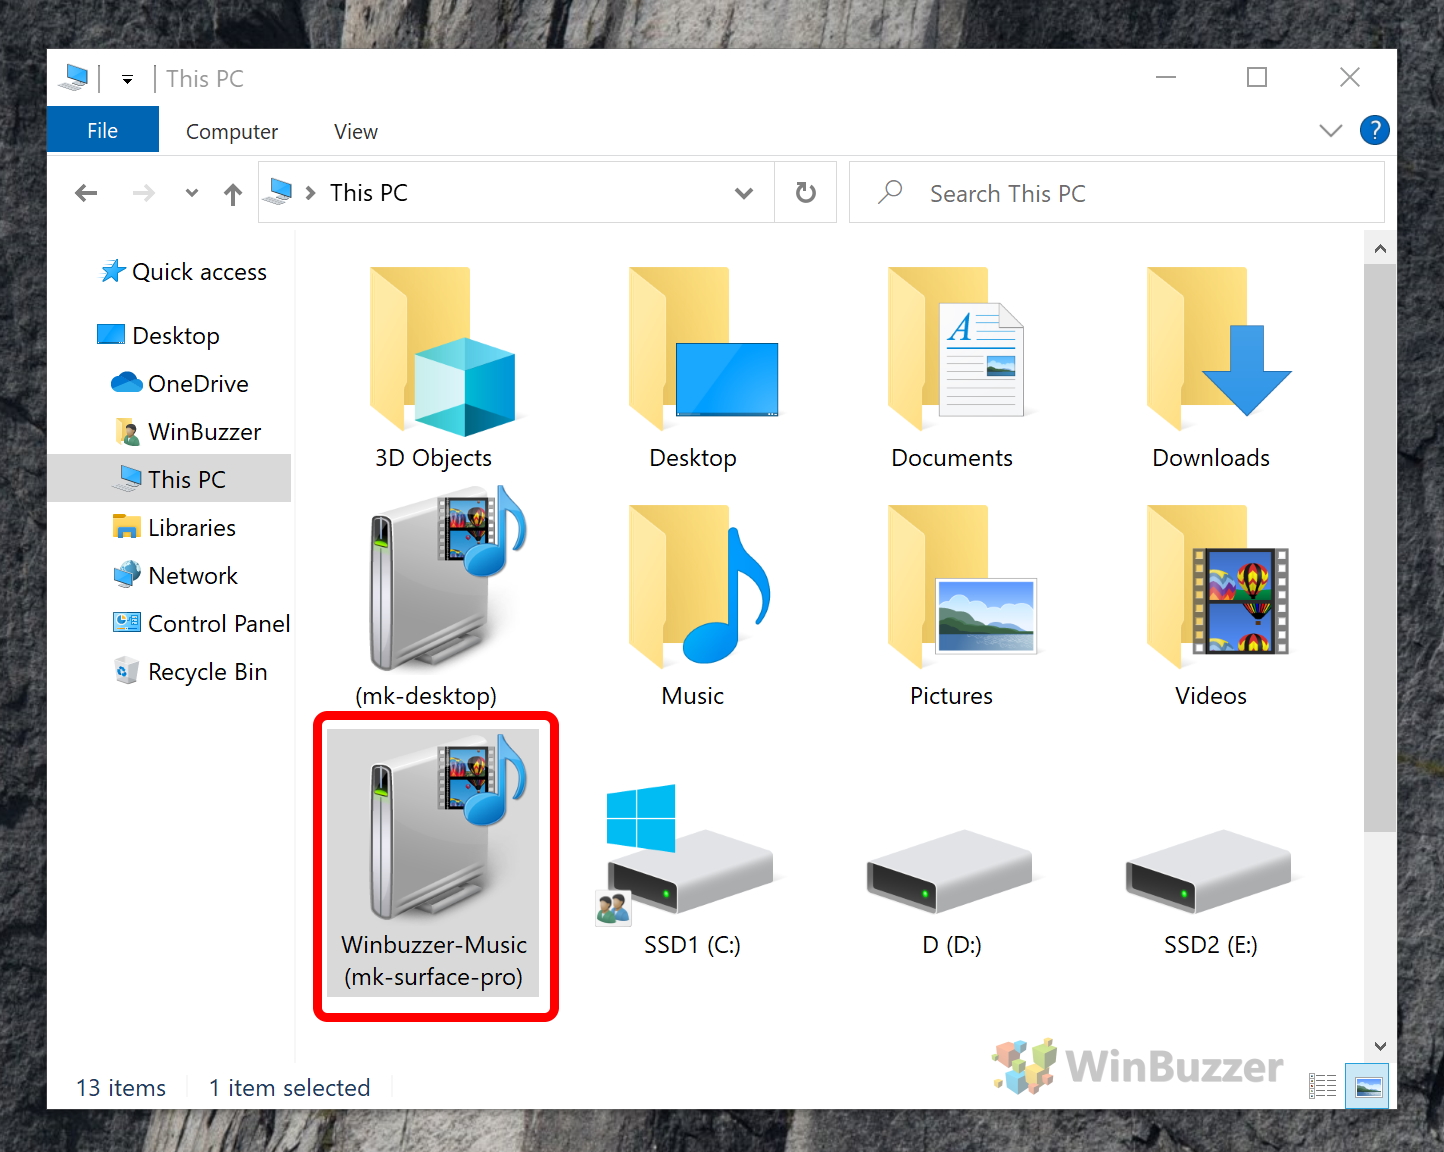
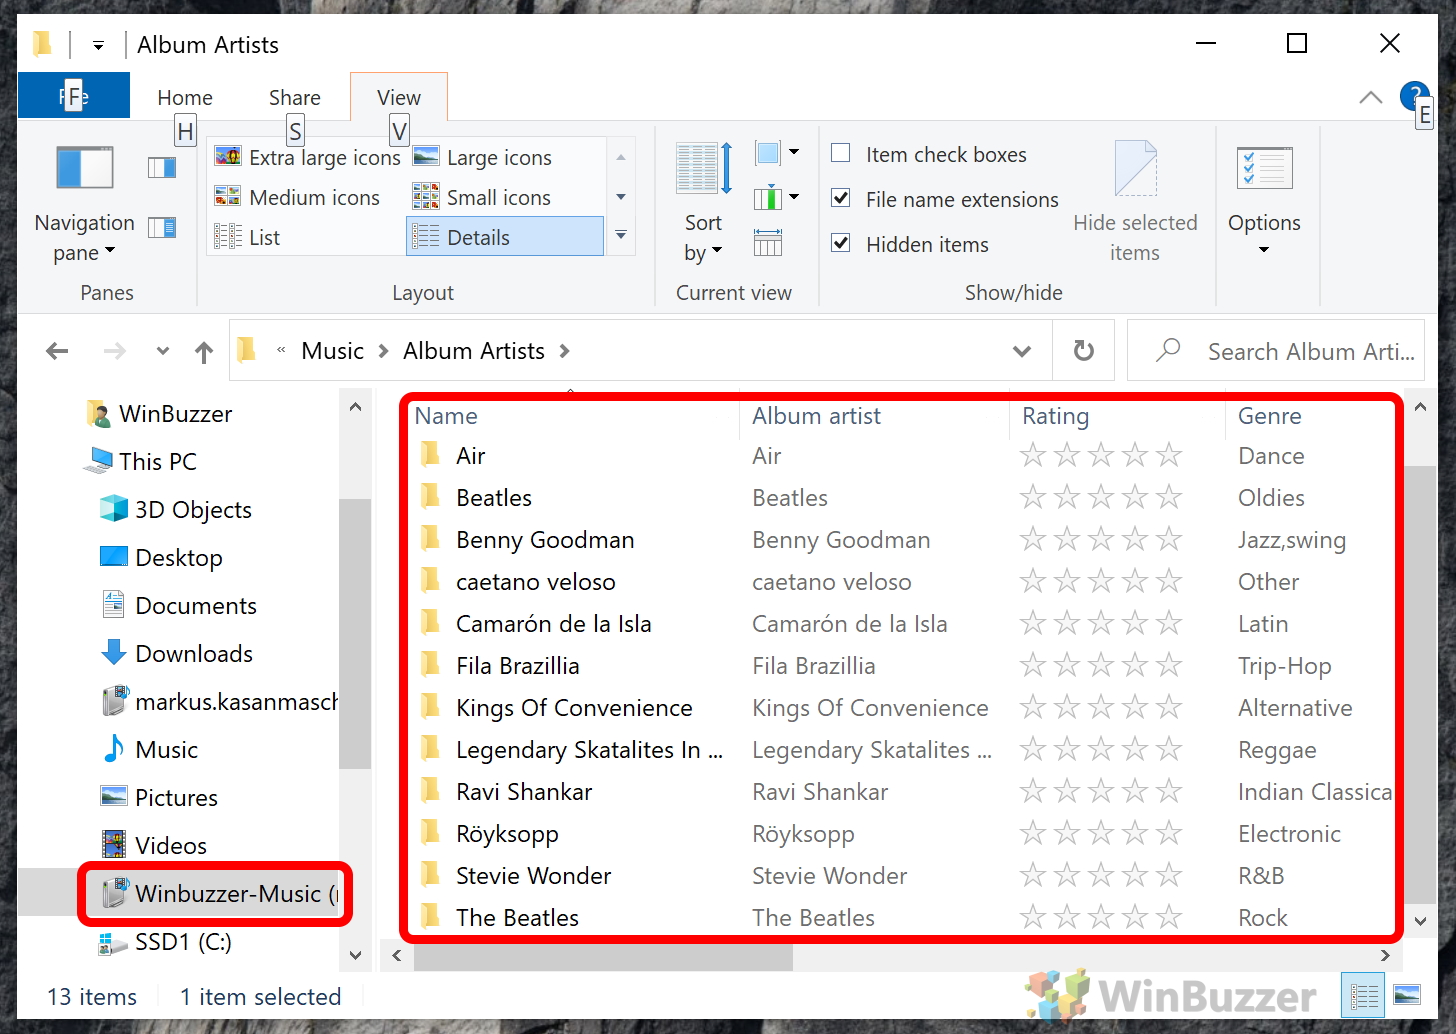
With a Windows 10 DLNA server, you can stream local files to a DLNA client/player. You may be surprised at the variety of hardware that supports this functionality, from modern TVs to consoles, tablets, and Android phones. The word ‘server’ automatically summons images of complexity, but setting up media streaming is far easier than you think. All you need is to flip a few settings in your Control Panel and you’re on your way. What is DLNA? Sony set up the Digital Living Network Alliance (DLNA) in 2003. It comprises numerous organizations who have collaborated to create a standard for media streaming on a wide range of devices. A Windows 10 DLNA server uses media player to manage and deliver content via a bespoke protocol, sending packets to DLNA clients or players such as TVs or speakers. DLNA certified devices use UPnP (Universal Plug and Play) to automatically find each other on the network, so no manual IP entry is required. However, there are several caveats with DLNA which have caused media streaming in Windows 10 to be largely dominated by third-party tools. Its age means it doesn’t account for the rise in streaming services like Netflix, and it primarily targets those who have a large local library. As such, you can’t media stream your browser video or screen, just the files on your hard drive. It can also struggle when it comes to file formats. Windows 10 DLNA servers primarily support common file MP3, WMA, and MP4 files, and even MP4 can fail the files are a certain resolution or bitrate. The standard also doesn’t support MKV, AVI, and FLAC extensions, despite their increasing popularity. With those limitations outlined, let’s jump into how to enable media streaming in Windows 10.
How to Enable the Windows 10 DLNA Server
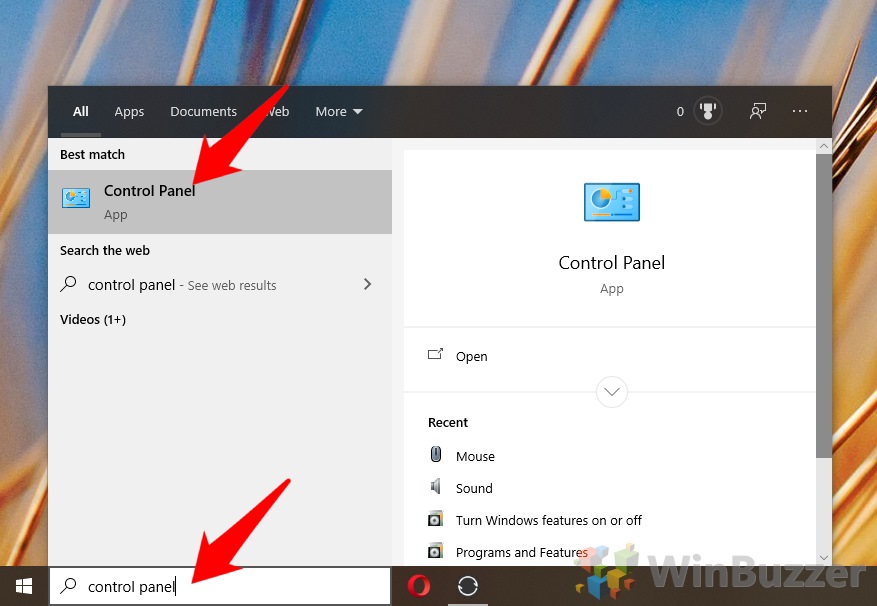
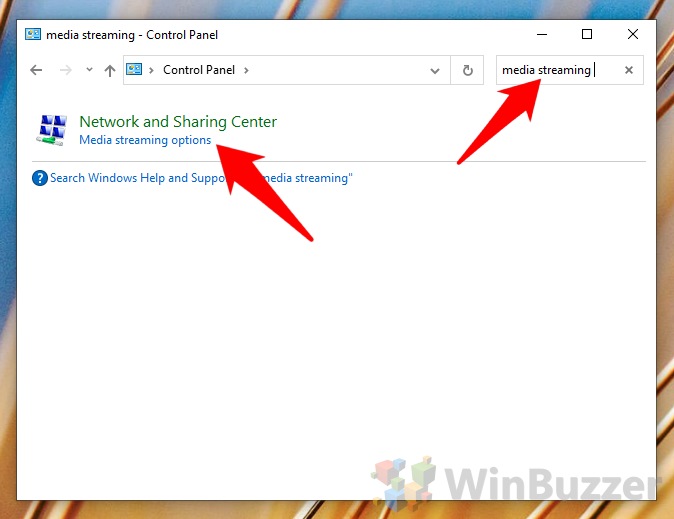
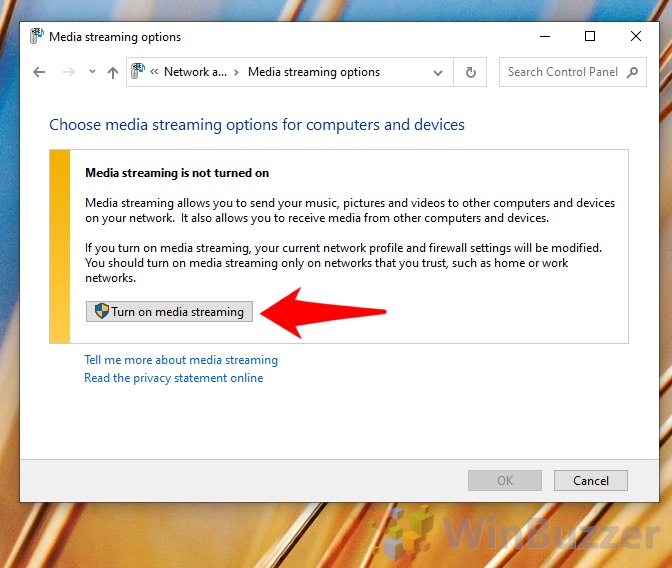
You can understand from the drawbacks while media streaming isn’t enabled by default in Windows 10 – it can be a headache at times. Still, Microsoft makes it quite easy to enable the feature if you wish to use it.
